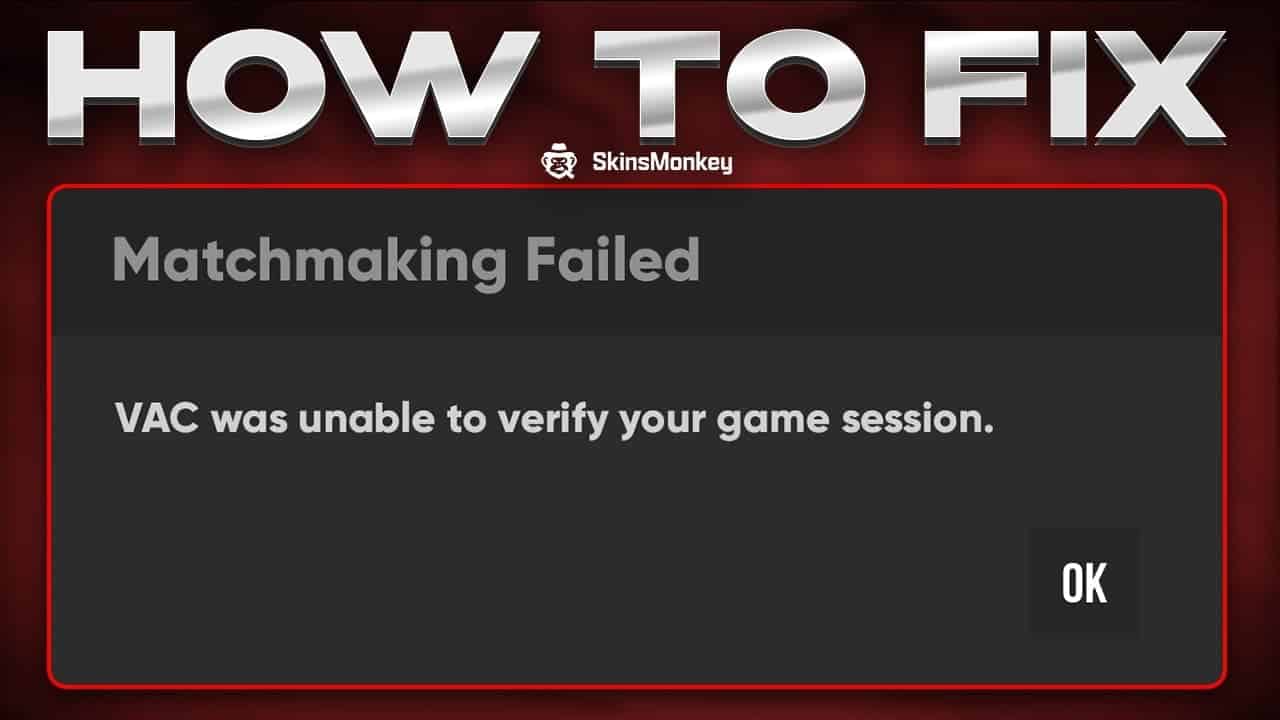
VAC, also known as Valve Anti Cheat, is a method used in Valve's online games to detect players who try to alter the game's local files to get unfair advantage and prevent them from using the online mode. However, sometimes the valve anti cheat system can accidentally target innocent players. In this article you will learn how to fix ‘vac was unable to verify' error in Counter Strike: Global Offesnive.
Why Am I Getting The Error Message
One thing must be made clear – if your steam account has a vac ban, there is no way to bypass it. At the moment vac bans cannot be appealed and are permanent. If your account gets VAC banned, you will no longer be able to trade CS:GO (CS2) skins as well.
If you are not banned by the vac system and still receive the error message in steam games, do not panic. This only means that the vac system failed to communicate with your account to see if the anti cheat is working. It is still unclear what causes this error to happen, but there are a couple methods that you can use fix this problem.
How to Fix VAC Error Message
If you tried to reinstall Counter Strike: Global Offensive, you would still receive the ‘vac was unable to verify game session error'. That is because reinstallation simply loads up the same files. Here are 6 simple solutions you can try to fix ‘vac unable to verify your game session' error in Counter Strike: Global Offensive:
-
Reboot Your Computer
There might be a process running in the background, which doesn't allow VAC verify your game. In some situations manually giving your computer a full reboot can fix this problem. In order to perform a safe reboot, follow these steps:
- Close all applications and windows.
- Press the windows key or the icon on the bottom left of your screen.
- Click the power icon, choose restart and wait for the computer to reboot.
- When the computer is on again, start steam client and launch Counter Strike: Global Offensive to see if the error message appears again.
If this issue persists even after restarting your computer, you might have to do a full reboot. To do it safely simply follow these steps:
- Close all applications and shut down the operating system.
- Unplug your computer from the power source (if you're using a laptop remove the battery).
- Wait for a couple of minutes.
- Plug the power back in and turn on the computer.
Fully removing the power from your computer should allow it to reinitialize its configuration parameters, which in turn fixes the ‘vac unable to verify your game session' error.
-
Restart Steam
In some cases simply restarting the steam client can help fix the problem. To fully restart your steam client follow these steps:
- Click the steam tab and select exit steam from the drop down menu.
- launch steam client again.
- Click on the steam tab again and select go offline.
- Click restart in offline mode.
- Click the steam tab and select go online.
- Click restart and go online
If you followed these steps, it should fix the ‘vac unable to verify your game session' error.
-
Re-log To Steam
Logging out of steam client can remove some of the altered configuration files, which might be causing the ‘vac was unable to verify your game session' error. To re-log to your steam account, simply do this:
- Open the steam client
- Click on your profile name and select log out
- Enter your credendtials and log in
This should allow vac to verify your game session next time you try to play online.
-
Verify The Integrity Of Game Files
One reason for the vac error to happen can be some type of integrity issue with the game files. To fix this problem you simply need to verify the integrity of game files for Counter Strike: Global Offensive:
- Open steam client library and find csgo
- Right click on csgo and select properties
- In the properties window go to local files tab and select verify integrity of game files
- Launch csgo and try to start an online game
This simple method often works for all games which have this vac issue. In most cases verifying integrity of game files fixes the issue.
-
Run Steam Client With Admin Priviliges
It's possible that steam might not have some important priviliges it requires to let vac verify your game session. In order to fix this issue, you can run steam with administrator prviliges, granting it all the neccessary access:
- Find the steam directory on your computer.
- Right click on steam.exe and select properties.
- In the properties window select ‘run this program as an administrator', then click apply and the OK button.
- Repeat this process for GameOverlayUI.exe.
If there were any priviliges missing for the steam client, this method should fix the issue.
-
Repair Steam Files
In some cases your steam files might be corrupted and preventing vac from veryfing your game session. To repair the corrupted steam files, follow these steps:
- Go to ‘C:\Program Files (x86)\Steam\SteamApps\common\Counter-Strike Global Offensive\csgo\maps\workshop' and delete everything in the folder.
- Do the same for ‘C:\Program Files (x86)\Steam\SteamApps\common\Counter-Strike Global Offensive\csgo\maps\graphs\workshop'.
- Launch steam client and wait for it to download the files you just deleted.
- Try to start the game and join a match.
If the vac error message was caused by corrupted steam files, repairing those files should let you play online again without any issues.
In Conclusion
Although you cannot appeal when you are vac banned, there is a number of methods that you can try to fix ‘vac was unable to verify your game session' error. If this has happened to you, try one of the methods mentioned above to help you with your problem. You might find the solution that will allow you to jump back into matchmaking without any problems.
If you want more tips on how to fix your CS:GO client or learn to play better, be sure to check out the rest of the Skinsmonkey blog. In addition, be sure to check out the rest of the Skinsmonkey website, where you can also make money by selling CS:GO (CS2) skins and even get CS:GO (cs2) skins for free with the Skinsmonkey giveaways!
A true gaming enthusiast, especially Counter-Strike: Global Offensive (CS2) and Rust. At SkinsMonkey, he is involved in creating game guides based on his own experience.


